Creating a professional headshot at home can be a rewarding project, as it allows for flexibility and personal expression. Below is a comprehensive guide, including step-by-step instructions, tips for improving your results, and the pros and cons of DIY headshots, followed by a look at AI-generated headshots as an alternative.
Step-by-Step Guide to Taking a Headshot at Home
- Prepare Your Space: Choose a location with a clean, clutter-free background. Solid-colored walls or simple backdrops work best.
- Attire and Appearance: Dress professionally in neutral, non-distracting clothing. Solid colors or subtle patterns are recommended. Prepare for the shoot a few days in advance, maintaining a healthy skin care routine and getting plenty of rest.
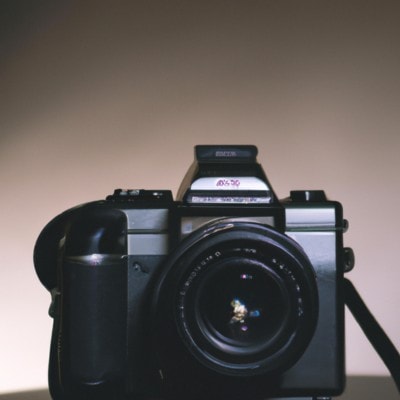
- Camera Setup: Use the highest quality camera available to you. If using a smartphone, the back camera generally offers better quality than the front. Place the camera on a tripod to ensure stability and sharpness in your images.
- Lighting: Utilize a clean, even light source. Natural light works best, particularly during the golden hour or midday light diffused by shade. Indoors, position yourself near a window that isn’t in direct sunlight to avoid harsh shadows.
- Shooting: If your camera has a portrait mode, use it to help blur the background and focus on your face. Take multiple shots with different poses and expressions to have a variety of options to choose from.
- Editing: Do minimal retouching to keep the photo looking natural. Over-editing can make the headshot look unrealistic.
Tips for Better Results
- Expression: Practice your expression in the mirror before shooting. Aim for a natural, pleasant expression that conveys professionalism.
- Eye Contact: Look directly into the camera to create a sense of engagement with the viewer.
- Pose: Keep your body posture open and confident. Slight turns of the head or angling your shoulders can create a more dynamic image.
- Trial and Error: Don’t hesitate to experiment with different settings, angles, and expressions. The more photos you take, the higher the chance of capturing the perfect shot.
Pros and Cons of DIY Headshots
To take your headshots at home, has some pros and cons. We tell you the most common pros and cons, so you could decide if you like to do your headshots by yourself or use for example an AI Headshot generator.
Pros:
- Cost-Effective: Taking a headshot at home saves money on professional photography services.
- Control: You have full control over the setup, timing, and final selection of your headshot.
- Convenience: No need to schedule appointments or travel, allowing for more flexibility in timing.
Cons:
- Quality: Without professional equipment and expertise, it can be challenging to achieve the same level of quality as a professional photographer.
- Skills: Requires a learning curve to understand the basics of photography, posing, and editing.
- Time: The process can be time-consuming, especially if you are new to photography.
Alternative AI-Generated Headshots
As an alternative to taking headshots at home, AI headshot generators have emerged. These tools use artificial intelligence to create professional-looking headshots based on input parameters from input photos such as hairstyle, clothing, and backdrop. The advantages include speed and ease of use, with no need for photography skills. However, they might lack the authenticity and personalized touch of a self-taken photograph. When considering this option, ensure you choose a reputable service that offers customization to suit your needs.
In conclusion, while taking headshots at home requires some effort and learning, it can be a fulfilling and practical solution for many. Whether you choose the DIY route or explore AI-generated options, the key is to focus on creating a headshot that best represents your professional image.


