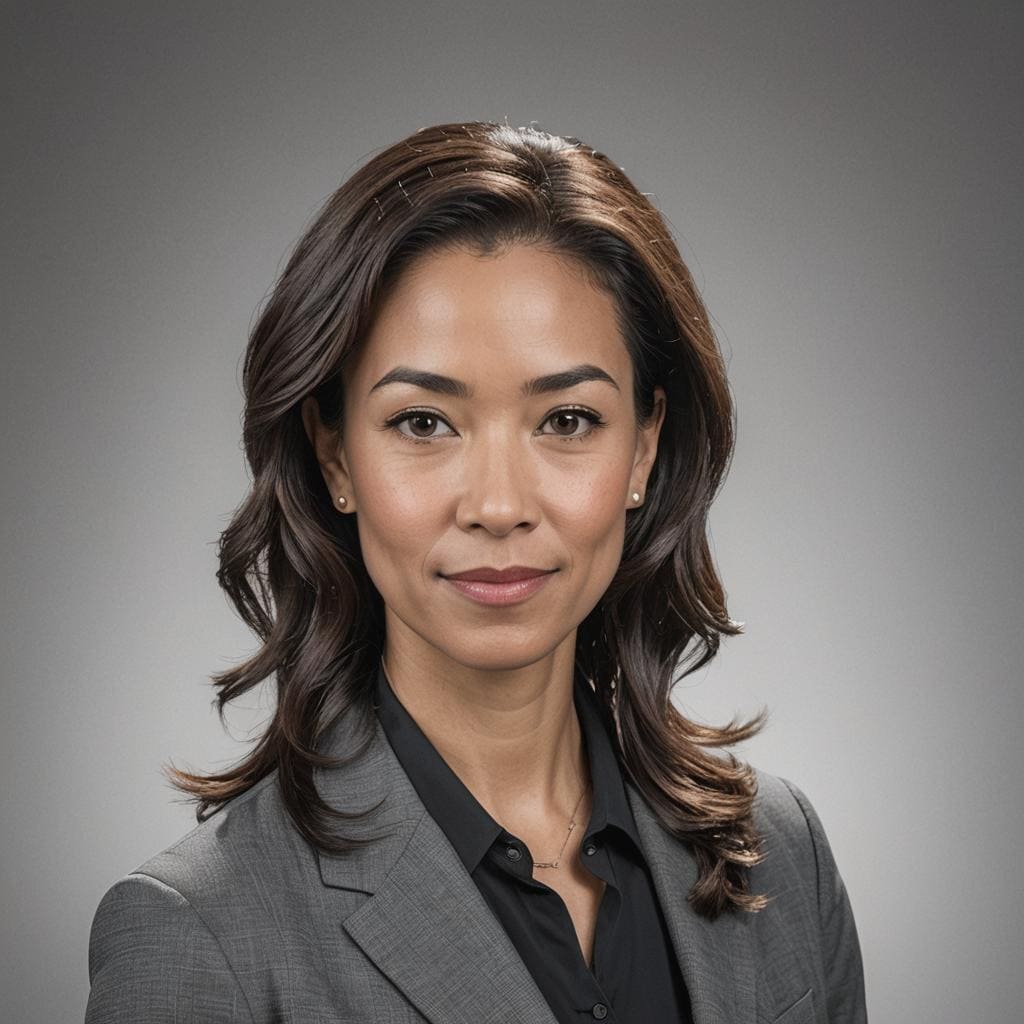
Are you interested in becoming a headshot photographer? This rewarding career path can be a great source of income, especially considering the high demand for professional headshots in various industries like real estate, corporate businesses, and social media. In this article, we’ll guide you through the process of becoming a headshot photographer, drawing insights from two YouTube videos by professional photographers. We’ll cover essential tips, gear recommendations, and techniques to help you get started.
Understanding the Basics
The first step to becoming a headshot photographer is understanding the basics. Here are four crucial tips to keep in mind:
- Use the Right Focal Length: One of the biggest differences between a beginner and a professional headshot photographer is the focal length used for photos. For headshot photography, you should use a lens that is at least 50 millimeters or tighter. This range, from 50 to 100 millimeters on a full-frame camera, is the sweet spot. It minimizes distortion and provides a more accurate representation of the subject.
- Use Lighting: Any form of lighting can drastically improve your photos. When starting out, you can use natural light from a window. However, as you progress, you should consider investing in constant lighting or off-camera flash lighting. These options give you more control over the scene and can produce more professional results.
- Lighting Placement: The placement of your light source is crucial. A good starting point is placing the light 45 degrees from the subject and 45 degrees up. This placement creates a dynamic, three-dimensional effect on the subject’s face. However, you may need to adjust the lighting based on the type of shoot and the desired effect.
- Make Your Subject Feel Comfortable: This is perhaps the most important tip. Most people aren’t used to being in front of a camera, so it’s your job to make them feel at ease. Give them clear directions on how to pose and when to smile. A relaxed subject will result in more natural, appealing headshots.
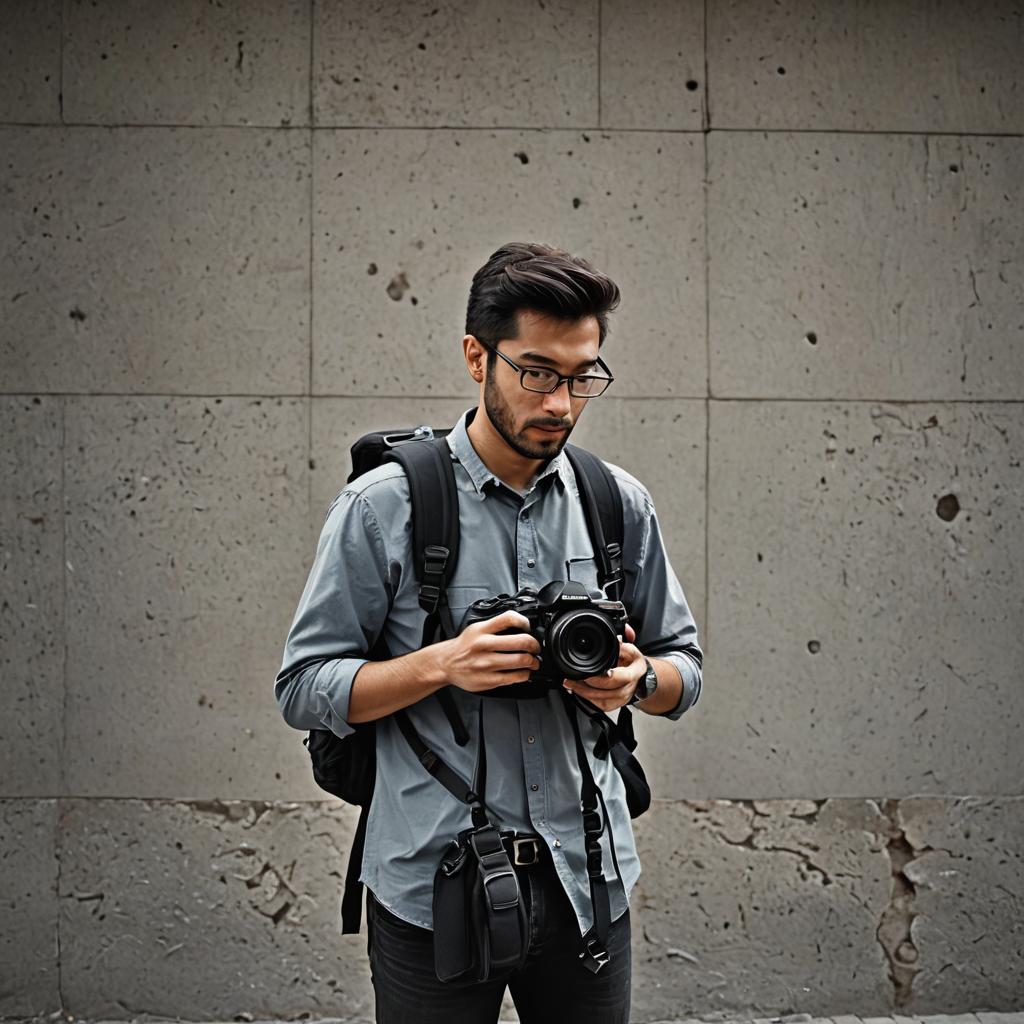
Gear Recommendations
When it comes to gear, you don’t need a vast array of equipment to start taking professional headshots. Here are some recommendations:
- Camera: A full-frame camera is ideal for headshot photography. However, you can start with whatever camera you have and upgrade as you progress.
- Lens: A 50 millimeter prime lens is a great choice for headshot photography. It minimizes distortion and provides a more accurate representation of the subject.
- Lighting: A simple setup with a single light source can yield professional results. Consider investing in a softbox for your flash, which provides soft, diffused light. A ring light can also be a good starting point.
- Reflector: A 5-in-1 reflector can be a versatile addition to your gear. It can be used to fill in shadows and control the light on your subject’s face.
Techniques and Settings
Once you have your gear ready, it’s time to dive into the actual shooting process. Here are some techniques and settings to consider:
- Camera Settings: A good starting point for your camera settings could be a shutter speed of 1/60, an aperture of f/2.8, and an ISO of 400. However, these settings can vary based on the lighting conditions and the effect you want to achieve.
- Flash Power: When using off-camera flash, you don’t need a lot of power. A setting of 1/128 is often sufficient for headshot photography. The lower power results in softer light, which is more flattering for headshots.
- Posing: Direct your subject to angletheir body towards the light and then twist their upper body towards the camera. This gives their body a bit of dimension and can make women appear slimmer.
- Smiling: Instead of asking your subject to hold a smile throughout the entire shoot, instruct them to relax their face and only smile when you count down to take the photo. This results in a more organic and natural smile.
- Outdoor Photos: If you’re shooting outdoors, you can ask your subject to close their eyes and then open them when you count down to take the photo. This prevents them from squinting due to the sunlight.
Behind the Scenes
To give you a better understanding of how a headshot photography session works, let’s take a look at a behind-the-scenes setup. In this setup, a backdrop, one light source, and a camera on a tripod were used. The camera settings were a shutter speed of 1/60, an aperture of f/2.8, and an ISO of 400. The flash power was set to 1/128, which is often sufficient for headshot photography.
The light was placed 45 degrees off and 45 degrees up from the subject. This placement creates a dynamic, three-dimensional effect on the subject’s face. However, the placement can be adjusted based on the type of shoot and the desired effect.
A 5-in-1 reflector was also used to fill in shadows and control the light on the subject’s face. This simple accessory can significantly improve the quality of your photos.
Conclusion
Becoming a headshot photographer requires understanding the basics of photography, investing in the right gear, and mastering various techniques and settings. However, the most important aspect is making your subject feel comfortable and at ease. With these tips and insights, you’re well on your way to becoming a successful headshot photographer.
Remember, practice makes perfect. So, don’t be afraid to experiment with different setups and techniques until you find what works best for you. Good luck on your journey to becoming a headshot photographer!